
Your dinghy is your daily connection between your sailboat and the shore. Taking good care of it is essential to protect it from the constant exposure to sun and salt.
That is where dinghy chaps make a real difference.
High-quality dinghy chaps act as a protective barrier against UV exposure, abrasion, dirt, and daily wear, helping preserve both the appearance and lifespan of your inflatable boat.
Why Use Dinghy Chaps?
For sailors, the dinghy is not optional, it is essential. Protecting it properly means fewer repairs, better long-term appearance, and improved durability over time.
Using dinghy chaps is one of the most effective ways to protect your inflatable tubes.
Key benefits:
- Protection against UV exposure and sun damage
- Reduced abrasion from docks, moorings, and daily use
- Resistance to fuel stains and saltwater exposure
- Extended lifespan of inflatable tubes
AB dinghy chaps are manufactured with Sunbrella® marine fabric, which offers exceptional durability, UV resistance, breathability, and long-term performance in demanding marine environments. This helps distinguish our chaps from other alternatives made with less durable materials.
Built with breathable and water-resistant marine fabric, AB dinghy chaps help protect the tubes without trapping excessive moisture, making them ideal for life onboard.
Important Maintenance Recommendations
Proper use and maintenance are essential to maximize the benefits of dinghy chaps.
Important recommendations:
- Periodically remove the chaps and clean underneath them
- Prevent sand, salt crystals, or debris from remaining trapped between the chap and the tube
- Rinse both the dinghy and the chaps regularly with fresh water
- Allow the area to dry properly before reinstalling
Routine cleaning and inspection will help maintain both the tubes and the chaps in excellent condition over time.
How to Install Dinghy Chaps (Step-by-Step Guide)
Step 1: Start from one cone
Start from one of the dinghy cones, adjusting the fabric below the rub rail.

Step 2: Align fittings
Continue towards the bow, aligning openings with handles, oarlock bases, and seat retainers.

Step 3: Stretch the fabric
Stretch the fabric while installing to achieve a clean and proper fit.


Step 4: Center alignment
Make sure the logo is centered when you reach the bow while adjusting the chap.

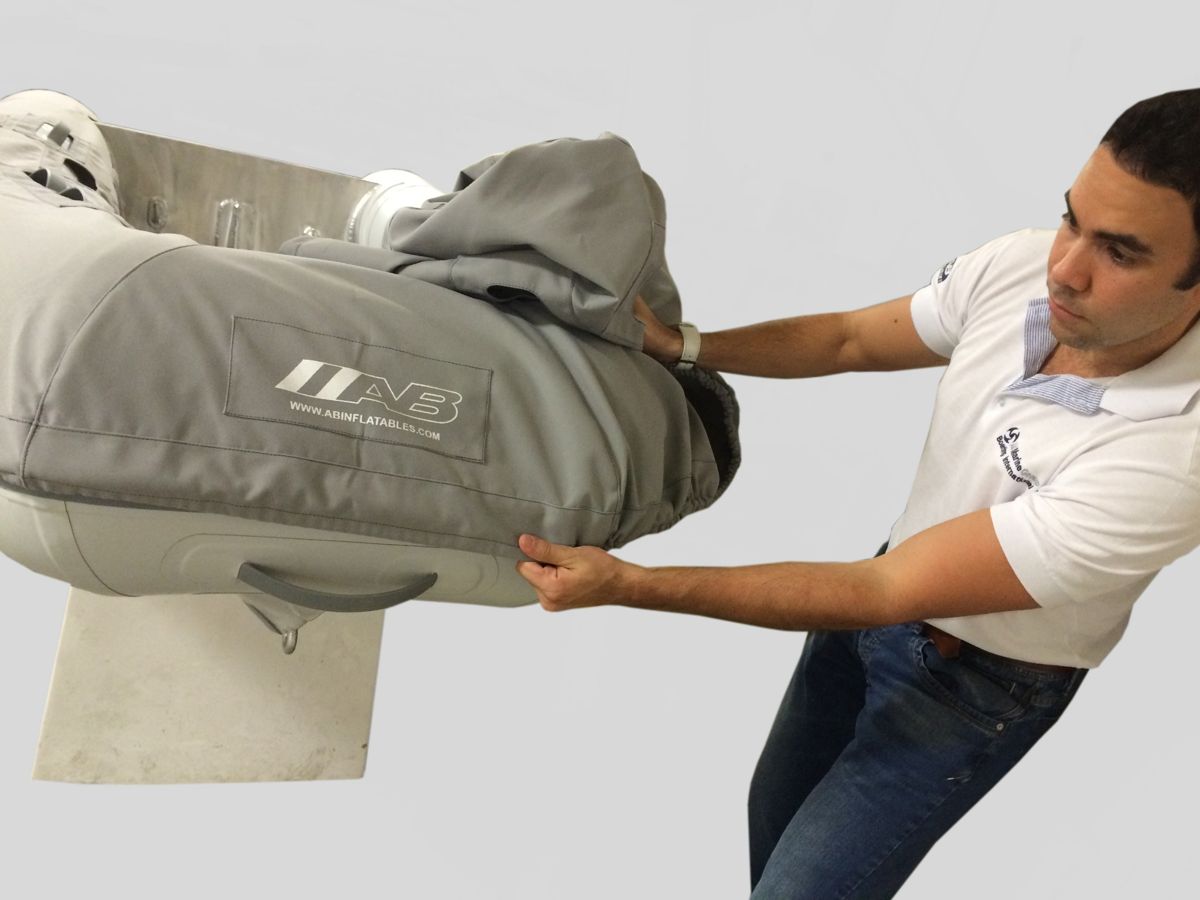
Step 5: Continue fitting
Once centered, continue adjusting the chap along the tube.
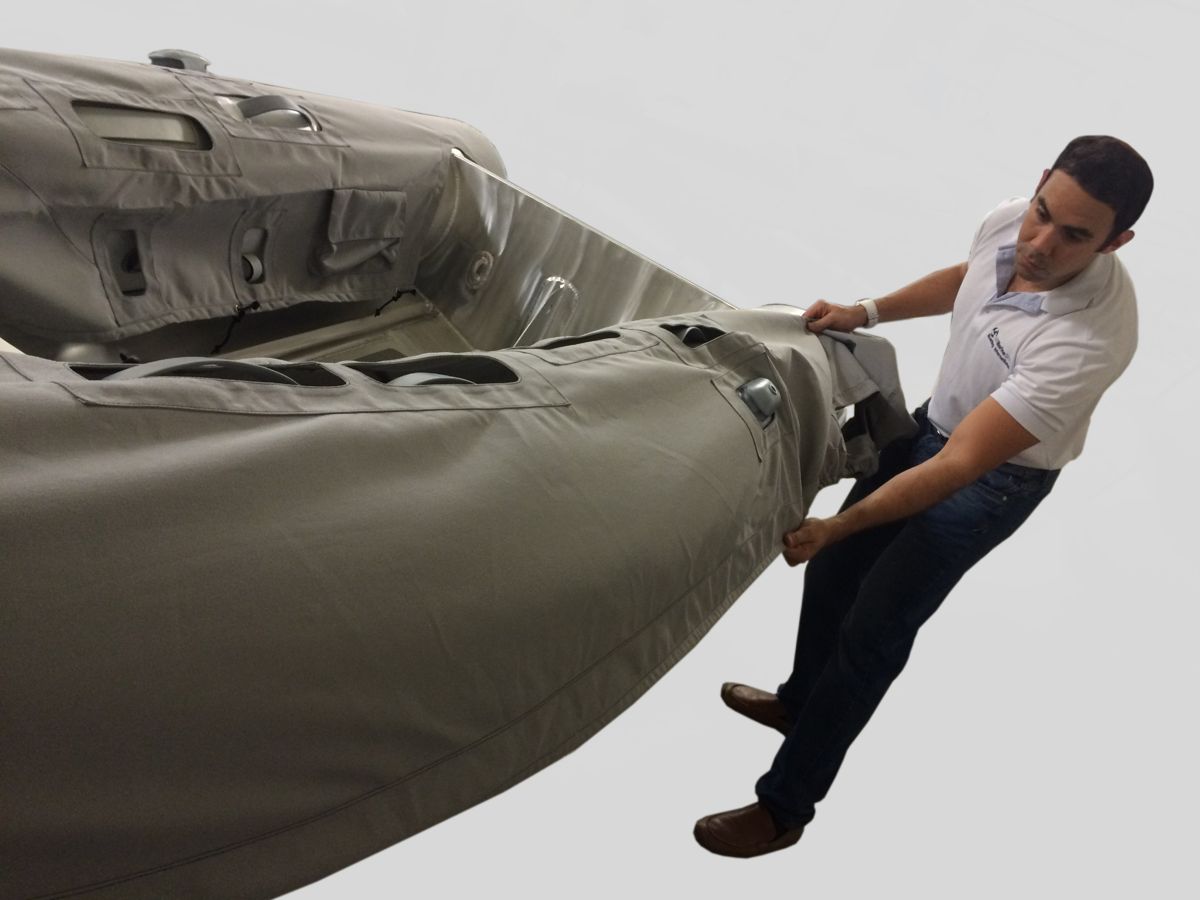
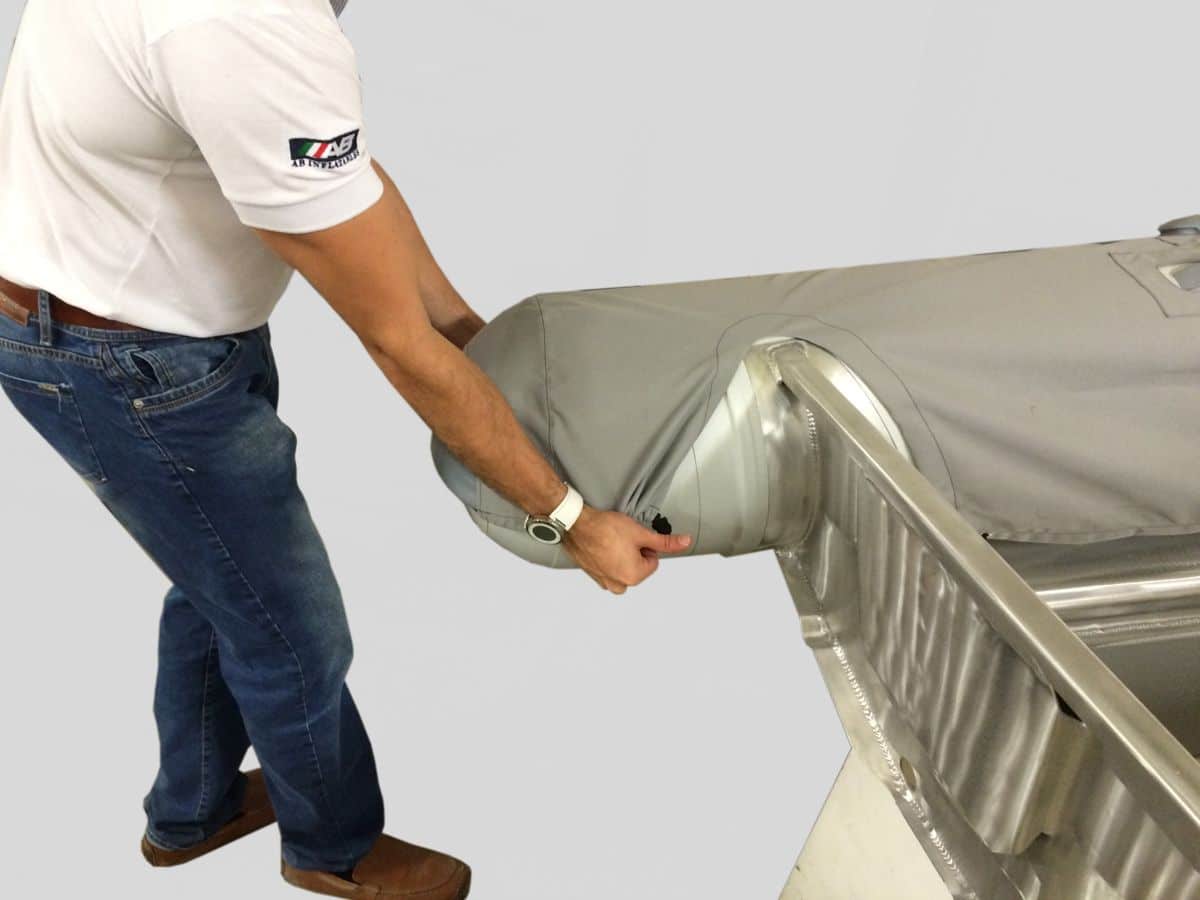
Step 6: Secure the second cone
Adjust the chap on the second cone as done on the first side.
Step 7: Final fixing
Mark the points where the strings of the chaps will be located, then glue the pads on the tube and tie them.
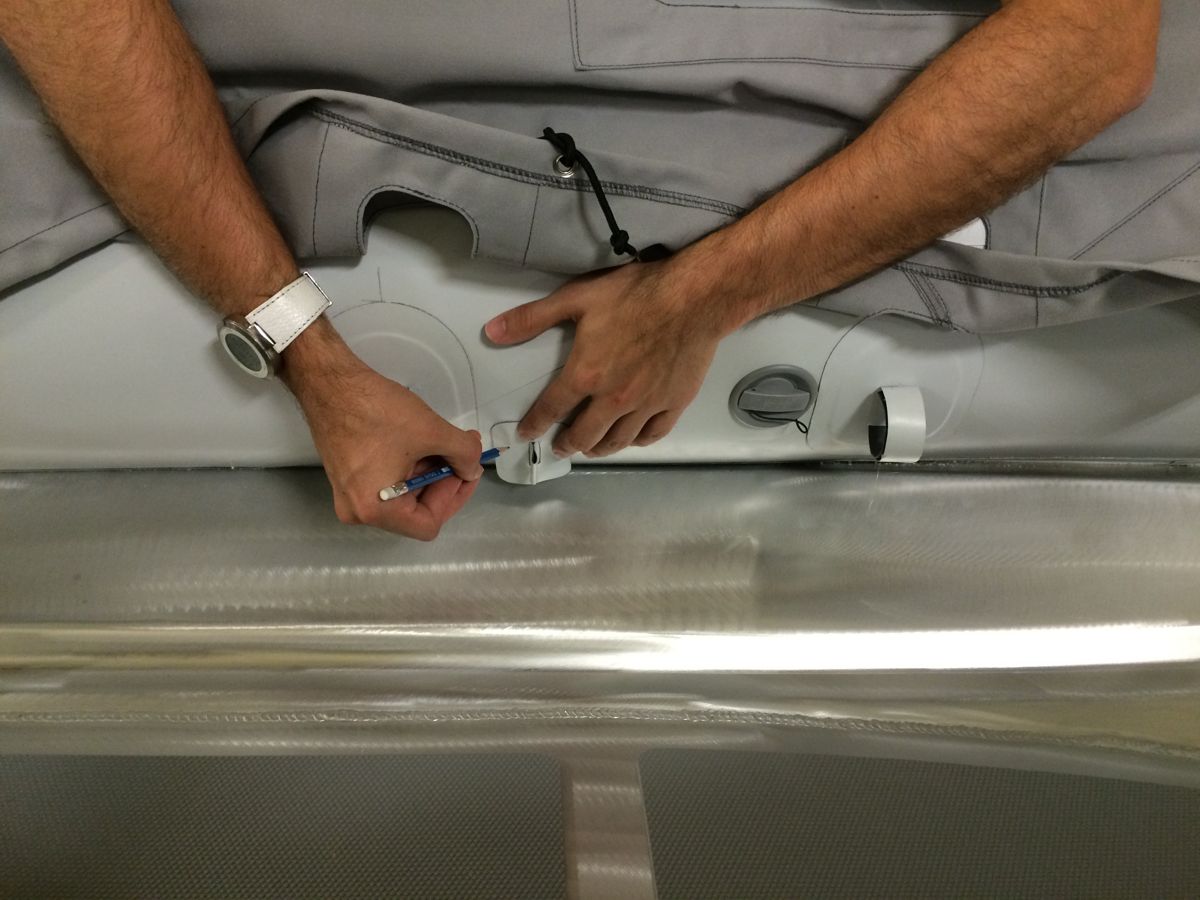
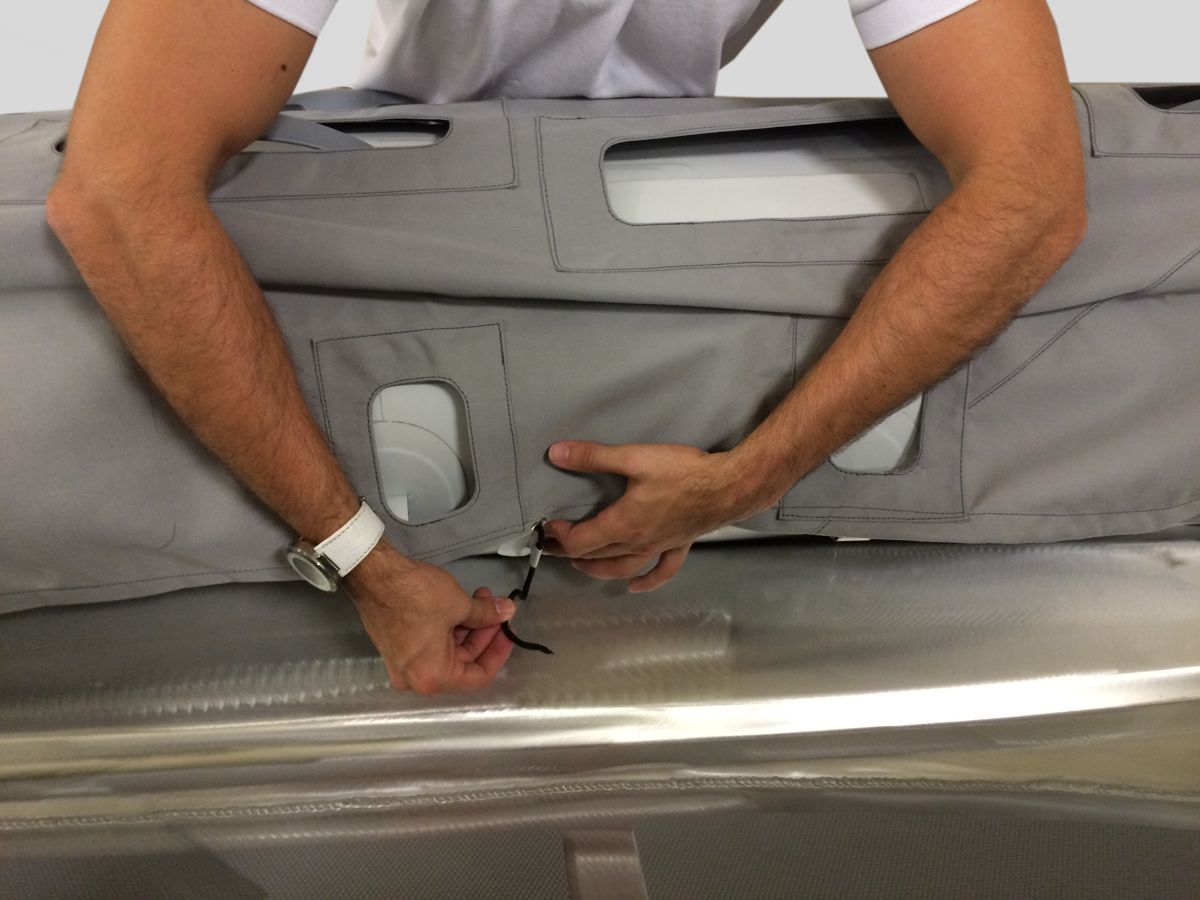
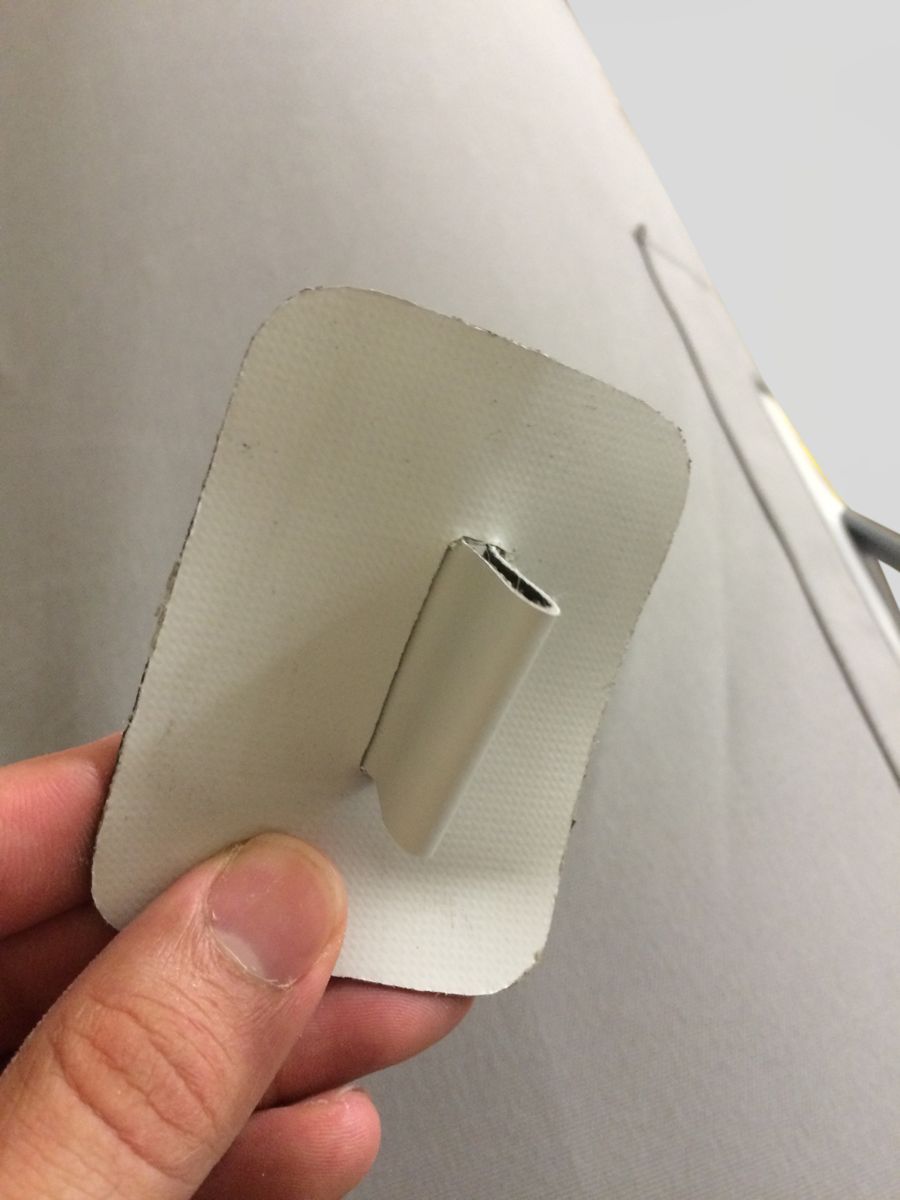
Pad to tie the strings.
You’re All Set!
AB Tip:
Take your time during installation to ensure even tension and proper alignment. A well-installed chap not only looks better, but also performs better over time.

For sailors, every piece of equipment onboard must be reliable, durable, and ready for daily use.
Installing high-quality dinghy chaps is a simple and effective way to protect your inflatable boat season after season.
A smart solution to preserve what takes you ashore every single day.


